Video Measurement System
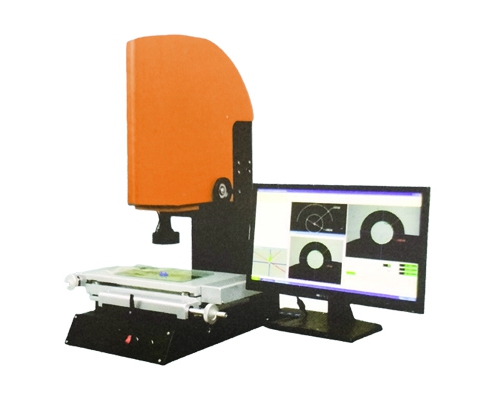
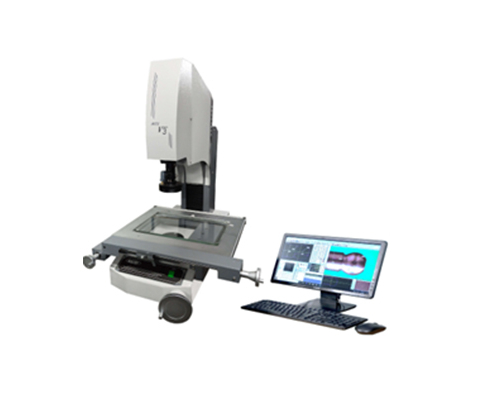
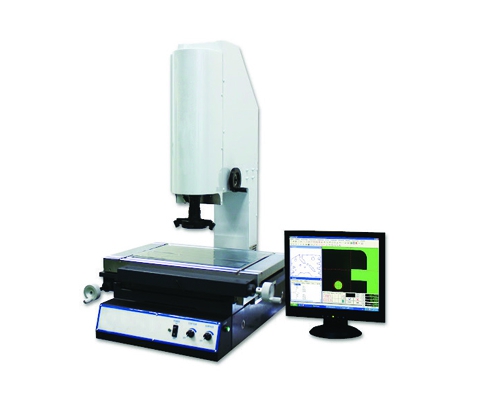
We are a leading Manufacturer of Video Measuring Machine, HV-3015 Video Measuring Machine, HV-2015 Video Measuring Machine and 3020 Video Measuring Machine from Chennai, India.
- The surface light source: several partitions programmed light source system. Multi-regional, multi-channel control, from different directions on the product exposure and adjust the light intensity.
- Outline of the end of the light: the bottom light. LED annularity cold light source.
- Equipped with: PC a 19 ” MONITOR.
- File output formats: STL, OBJ, IGES, and DXF, of VRML.
- The structure of the machine: 0 precision 200mm thick granite platform fuselage basis. High accuracy, good stability and not easily deformed, resistant to acid and alkali.
- Dimensional measurements: measuring high and wide, length, both sides of the angle, the cone angle, the diameter of the cylinder chamfering, straightness, flatness, roundness, cylindricity, perpendicularity, parallelism, inclination, etc.
- Set the tolerance: you can set the actual size of the product is out of range, exceeding the warning in red background.
- Reverse engineering: measurement software draw graphics, can be a real direct entry in AutoCAD, but also can be saved as DXF files (can be a fast scanner, more than two times faster than general software speed).
- The SPC statistical analysis: CA, CP, CPK and the DRL, DRR, DR, MAX, MIN, AVG, the RANGE, the STD can be calculated and can draw the XR diagram, line charts, bar charts, etc.
- Picture output: measurement results can picture format.
- The report output: measurement results can be directly converting to EXCEL, CAD, WORD.
- The surface light source: several partitions programmed light source system. Multi-regional, multi-channel control, from different directions on the product exposure and adjust the light intensity.
- Outline of the end of the light: the bottom light. LED annularity cold light source.


